How to read a crochet pattern
Are you a beginner crocheter and find the patterns a bit of a mystery? Don't worry, you've come to the right place! In this guide, I'll explain step by step how to easily decipher a crochet pattern.
For this, we will use as an example the tutorial for the adorable octopus plush toy, available for free on Yarn and Crochet.

Here is the little octopus you can make with this pattern.
In all Yarn and Crochet patterns, before you dive straight into the instructions, you'll always find a first page with a pretty photo of the result final, and a last page containing practical information (what you can or cannot do with the pattern).

Next, you will arrive at the section on the presentation of the necessary equipment To make your project a reality, let's explore this very important first step together!
Understanding the necessary equipment
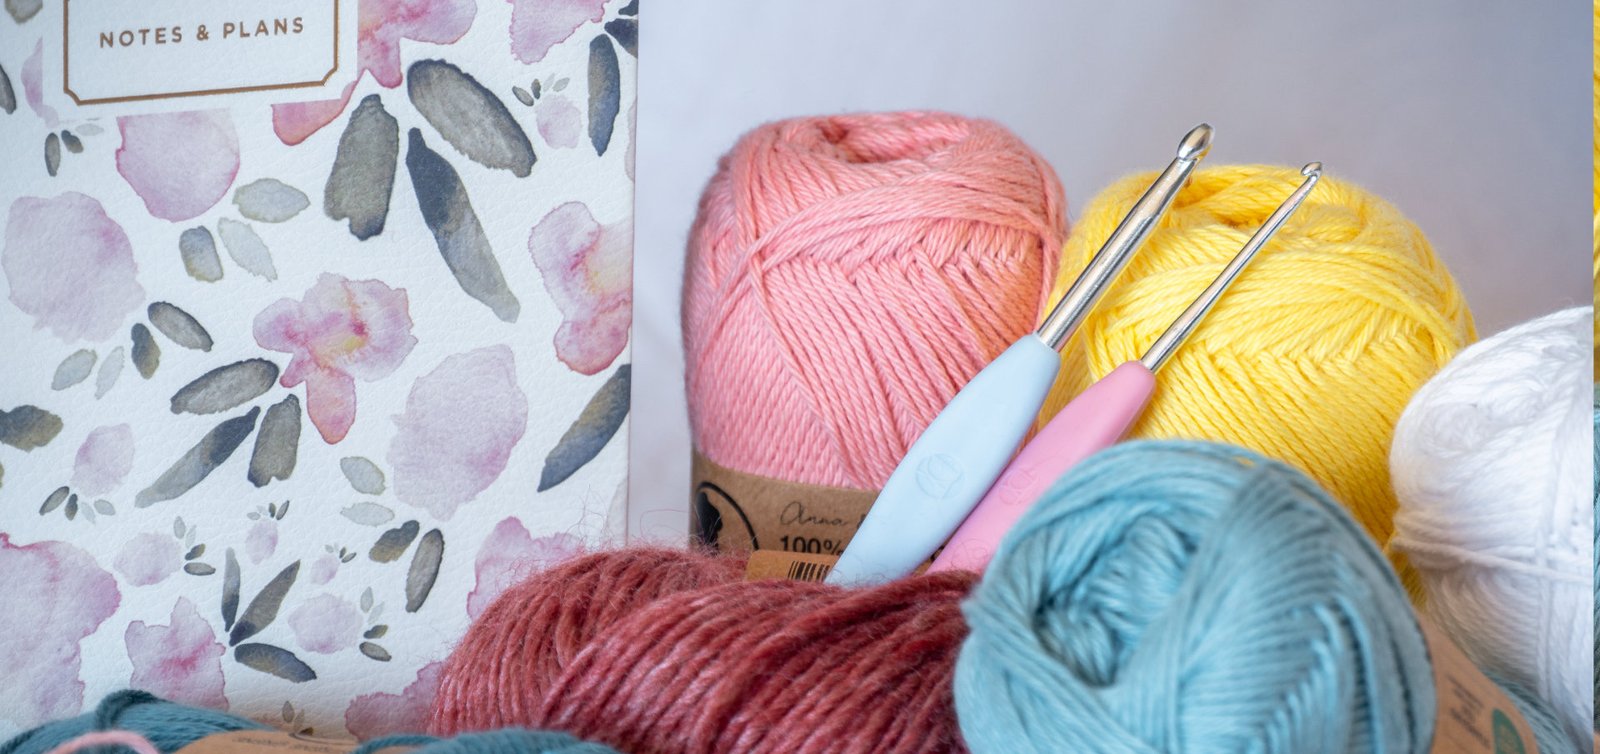
To get your crochet project off to a smooth start, the first essential step is to check Make sure you have all the necessary materials. Here, for example, is the exact list of materials you will need to make your octopus plushie:
• 6.0 mm hook : ideal with the type of wool used.
• Super bulky wool : for this pattern, it is recommended to use a super bulky yarn for a very soft result.
• 16mm safety eyes : big eyes to give your plush toy an adorable face.
• Black thread: It will be used to embroider the mouth and finalize the face of your octopus.
• Padding : essential for adding volume to your creation. Choose quality wadding for a homogeneous result and a pleasant feel.
• Yarn needle : useful for neatly tucking in the threads and assembling the different parts of your creation.
• Scissors : always within reach, they will allow you to cut your wires cleanly as you go.
• Mesh marker : very practical for indicating the beginning of each round and not losing count of your stitches.

Tips for selecting the right equipment for your project
For the thread, you don't have to buy the exact one recommended by the pattern. You can absolutely use a equivalent wire that you already have at home, provided it has the same thickness and a similar composition. For example, if the pattern calls for super bulky yarn, any other super bulky yarn will work perfectly.
Using the same thickness of yarn will allow you to obtain a final creation with dimensions close to the proposed model. The yarn composition should also be taken into account depending on the project type that you make (clothing, accessory, toy…).
Also, make sure to respect the size of the hook Recommended yarn weight: this will help you achieve tension and texture similar to the original pattern. However, if you choose a thicker yarn with a larger hook, your project will logically be larger. Conversely, a thinner yarn with a smaller hook will result in a smaller project.
Generally, on Yarn and Crochet, you already have access to the complete list of equipment directly on the pattern page. This allows you to check everything and gather your supplies before you even have the pattern in hand. That way, there won't be any unpleasant surprises when you're ready to start!
Deciphering the abbreviations in hook
When you read a crochet pattern, you quickly encounter a series of’specific abbreviations. These abbreviations allow the patterns to be more concise and easier to follow once you master them.
Among the most frequent, you will find in particular: mc (magic circle), ch (chain stitch), sc (single crochet), slst (slip stitch), inc (increase), dec (decrease), FLO (front strand) and BLO (back strand).
If you're not yet familiar with these abbreviations or simply want to review certain technical points in detail, no problem! I've compiled all the essential tutorials to easily understand and create each type of stitch. Find them directly on the Yarn & Crochet crochet tutorials page:
And finally, you have more general information on how the pattern is written: its terminology (French, US English, etc.) and the working method: the pattern specifies if it is worked in continuous circle or in rows.
You can also see the size of the finished plush toy to help you visualize it more easily.
Analyze the implementation instructions
Once the equipment is ready and the abbreviations are understood, it's time to move on to the heart of the project: the pattern himself.
The pattern
The pattern is made up of different parts to allow you to structure your progress (with here the head, the tentacles and the star).
In each section, you will have an initial indication of the yarn to use (especially in cases where different yarns are present in the pattern).
The pattern is then made up of numbered lines for each row (or round), with:
• the information on the points to be done,
• and the total number of stitches expected at the end of the round, often indicated in brackets.
Trick : Remember to place a stitch marker at the beginning of each round. This will help you keep the right rhythm and easily recount if needed.
In some cases, such as for turns 9 to 15 of the octopus pattern, you will see only one instruction. This means you have to do the same thing on several rounds in a row, which is common practice to maintain fitness.
A little personal tip: I like to keep a sheet of paper next to me and jot it down each time I finish a row. It prevents me from getting lost, especially if you take a break along the way!

Stage photos
One of the major advantages of Yarn and Crochet patterns is the presence of photos at each major stage. They are placed during or at the end of the different sections, allowing you to compare your work with the model as you go. This is very reassuring, especially if you are a beginner, because you can see if you are on the right track.
These images show, in particular:
• the expected result after certain rounds
• where to insert the hook for special stitches
• and a whole host of things that are more easily understood through photography
The finishing touches
Finally, at each stage you can find finishing instructions: for the head, the pattern tells you where and when fix your eyes and how embroider the mouth using a black thread (at what height, how many stitches apart).
These steps are often quick, But they make all the difference in the final result. Take the time to do them carefully, and don't hesitate to use the photos to help you position each element correctly.
Additional tips for making your creation a success
Following a pattern is already a great step… but a few simple tips can really improve your crocheting comfort and the quality of the final result:
1. Use a stitch marker
It's the number one tool for not losing track (literally and figuratively). When working in circles, it can quickly become difficult to see where begins a turn. The marker shows you precisely this point, which allows you to:
• to easily recount your stitches,
• to know where to insert your hook for the next round,
• to correct an error more quickly if needed.
Bonus tip: If you don't have a marker on hand, a simple piece of contrasting thread or a safety pin will do the job just fine.
2. Record your progress
When a pattern asks you to repeat the same thing several times (like rounds 9 to 15 of our octopus), it's easy to forget where you are, especially if you put your hook down between two.
To have a notebook, A post-it or even the “notes” application Using your phone can make all the difference. You can check off each completed row, note your adjustments, or jot down notes for later.
3. Take care of the tension on your wire
A regular tension give your piece a harmonious look. If your yarn is too loose, the stitches will be large and uneven; too tight, your hook will be difficult to use and your work may pucker. Breathe, relax, and always keep a loose hand. With practice, you will naturally find the tension that suits you.
4. Don't neglect the choice of yarn
The type of yarn greatly influences the final result: softness, texture, durability… If you want to know more, feel free to consult our complete guide on how to choose the right crochet yarn, or even on the different types of thread. These articles will help you make informed choices based on your projects.
Now you know how to read and understand a crochet pattern! Between the vocabulary, the materials, the organization of the text and the tips to avoid getting lost along the way, you are ready to embark on your first project with complete confidence.
And for practice, the beautiful plush octopus is an excellent choice: quick, cute, and rewarding to make.
Remember to share your creation on Instagram by tagging @yarn_and_crochet_ I love discovering your versions and seeing how you make the patterns your own.
So, crochet hook in hand… it’s your turn!
Discover our other articles on crochet:
Selling your crocheted plush toys: everything you need to know about the CE standards to comply with
Want to sell your crocheted plushies, but the terms "CE marking" and "toy directive" make you want to close the tab? I'll explain everything you really need to know: what CE marking actually means, how to tell if your creations are affected, and more…
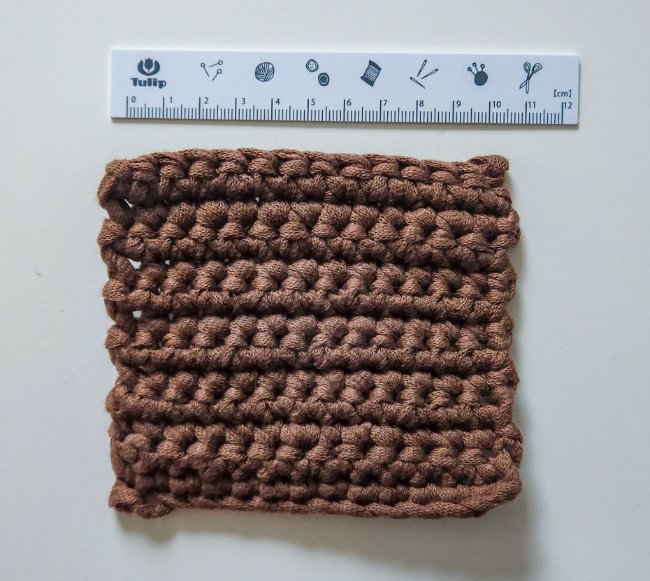
Crochet Gauge: Why and How to Make Them?
Crochet swatches, often overlooked, are essential for the success of your creations. Learn how to make them easily and adjust your tension for perfect results.
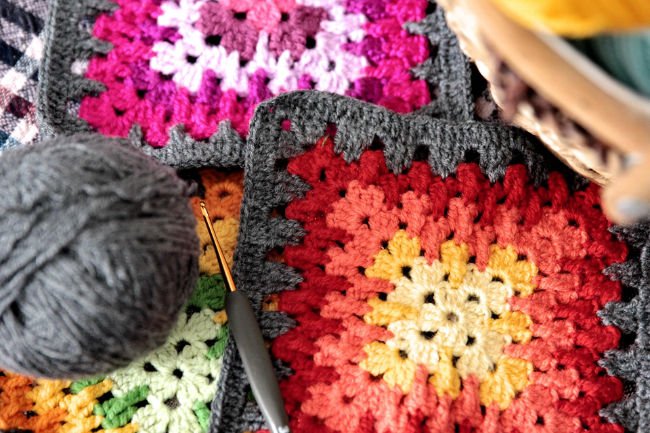
Crochet Granny Squares: The Beginner's Guide
Learn how to crochet granny squares easily: origins, magic circle tutorial, diagram reading and lots of creative project ideas.