Tutorial: how to make a Magic Circle with Crochet?
If you’re interested in crocheting in rounds, you’ve probably heard of the magic circle, usually abbreviated to “mc” in patterns. This basic technique allows you to start a circular piece of work without leaving a hole in the center.
The magic circle is very useful for crocheting in rounds: it is widely used to make amigurumi (those little crocheted plush toys of Japanese origin), granny squares, hats, or any other project that starts with a circle. No more unsightly holes in the middle when you start a project with a few stitches in the air, closed in a classic ring.
At first, making a magic circle may seem a little tricky, especially when you’re a crochet beginner. But don’t worry: it’s all in a day’s work. In this special crochet-friendly tutorial for beginners, I’ll explain step by step how to make your magic circle easily. Just get your yarn and hook ready, and off you go!
Magical Circle Crochet Tutorial, Step by Step
There are two main steps to making the magic circle: first, form a loop with the yarn, then crochet the first row of stitches in this loop before tightening it. Let’s take a closer look, step by step:
Step 1: Form the basic loop
Start by leaving a free length of wire of about 5-7 cm (this is the starting wire that will be used to tighten the circle). Then wrap the thread connected to the ball around two fingers of your left hand (index and middle fingers), so as to form a loop by crossing the thread on the underside of your fingers. The thread should form a sort of “X”. Hold this loop against your fingers with your thumb so that it doesn’t unravel and trap the thread between the last two fingers.

Catch the yarn between your fingers

Pass the yarn through the back

And fold it over to form an X

Catch the yarn between the last two fingers
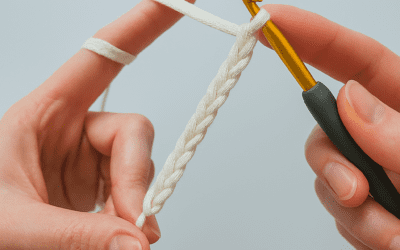
Step 2: Insert the hook into the loop and make a chain
Without letting go of the loop, insert your hook under the loop (pass it under the two strands of yarn). Pick up the yarn connected to the ball with your hook (make a throw) and bring it back through the loop. You now have a first loop on the hook. To lock the magic circle, make a chain with the yarn you’ve just brought back. This will secure the loop and prevent it from unravelling.

Insert the hook under the first yarn to catch the second yarn.

Pull the hook under the first yarn

Rotate the hook to obtain a loop

Make a throw

Slide through the loop on the hook

Result of the magic circle
Step 3: Crochet the stitches in the loop

Insert the hook into the circle

Make a throw

Bring the hook back under the circle

Make a throw and pass through the two loops on the hook.

Keep on making sc

Result with 6sc
Step 4: Close the magic circle
Once you’ve crocheted all the stitches in the first row, you can close your magic circle. Gently release the loop from your fingers, then pull firmly (but smoothly) on the end of the starting yarn. The loop will magically tighten tightly around the stitches you’ve just created, completely closing the center of your work. Adjust the tension by pulling until the center hole disappears. The result is a lovely round of tight stitches, with no hole in the middle!

Pull the yarn to close the mc

Result of the magic circle with 6sc

Step 05
Step 5: Complete the first row
Tips for a successful magic circle
How much yarn should be left at the beginning to make a magic circle?
Leave about 10 to 15 cm of yarn free before you start. This will allow you to pull the yarn easily to tighten the hoop, without the risk of it slipping out of the stitches.
How can I prevent the loop from coming undone while I'm crocheting?
As you create the stitches into the loop, hold the loop crossing between your thumb and forefinger. This helps keep the loop stable until the end of the first row.
Should I crochet around a particular yarn?
Yes, remember to crochet around the starting yarn (the “tail”) and the yarn connected to the ball. If you forget to include the starting yarn, the magic circle won’t tighten properly.
At what point should you pull the yarn to close the circle?
Wait until you’ve finished all the stitches in the row before pulling on the yarn. If you tighten the loop too soon, it may come undone or interfere with your work.
What if the loop doesn't tighten easily?
Never pull with a jerk! Pull gently, little by little, while holding the stitches with the other hand. The yarn will run more smoothly without being damaged.
Is it normal if I struggle at first?
You bet! The magic circle takes a little practice. Practice with a thicker or lighter-colored yarn to see your gestures better, then go back to your usual yarn.
Alternatives to the magic circle (easy variation)
If you’re really not comfortable with the magic circle, there are alternative techniques for starting a book in the round:
• False magic stitch (with chain 2): chain 2, then crochet all the stitches of the first row into the first stitch (the 2nd from the hook). In this way, your starting stitches form an almost closed round, and by pulling on the starting yarn you can tighten the center a little. This variant doesn’t close the hole completely, but it’s smaller than with the 4-chain ring.
These alternatives can help you get started if you’re having too much trouble with the magic circle. However, they don’t give such a neat result: you’ll always have a slight hole in the middle. Once you’ve mastered the technique, you won’t be able to do without it!
Congratulations, you now know how to crochet a magic circle! This technique allows you to start all your projects in the round without an initial hole, and is now part of your crochet skills for beginners. Don’t hesitate to keep practising to become even more comfortable. Now that you’ve mastered the magic circle, you’ll be able to embark on lots of fun projects.
To inspire you, discover our selection of patterns using the magic circle available on Yarn & Crochet: amigurumis, accessories, home decor and many more! Choose your favorite pattern and have fun putting this new skill into practice. Happy crocheting!
-

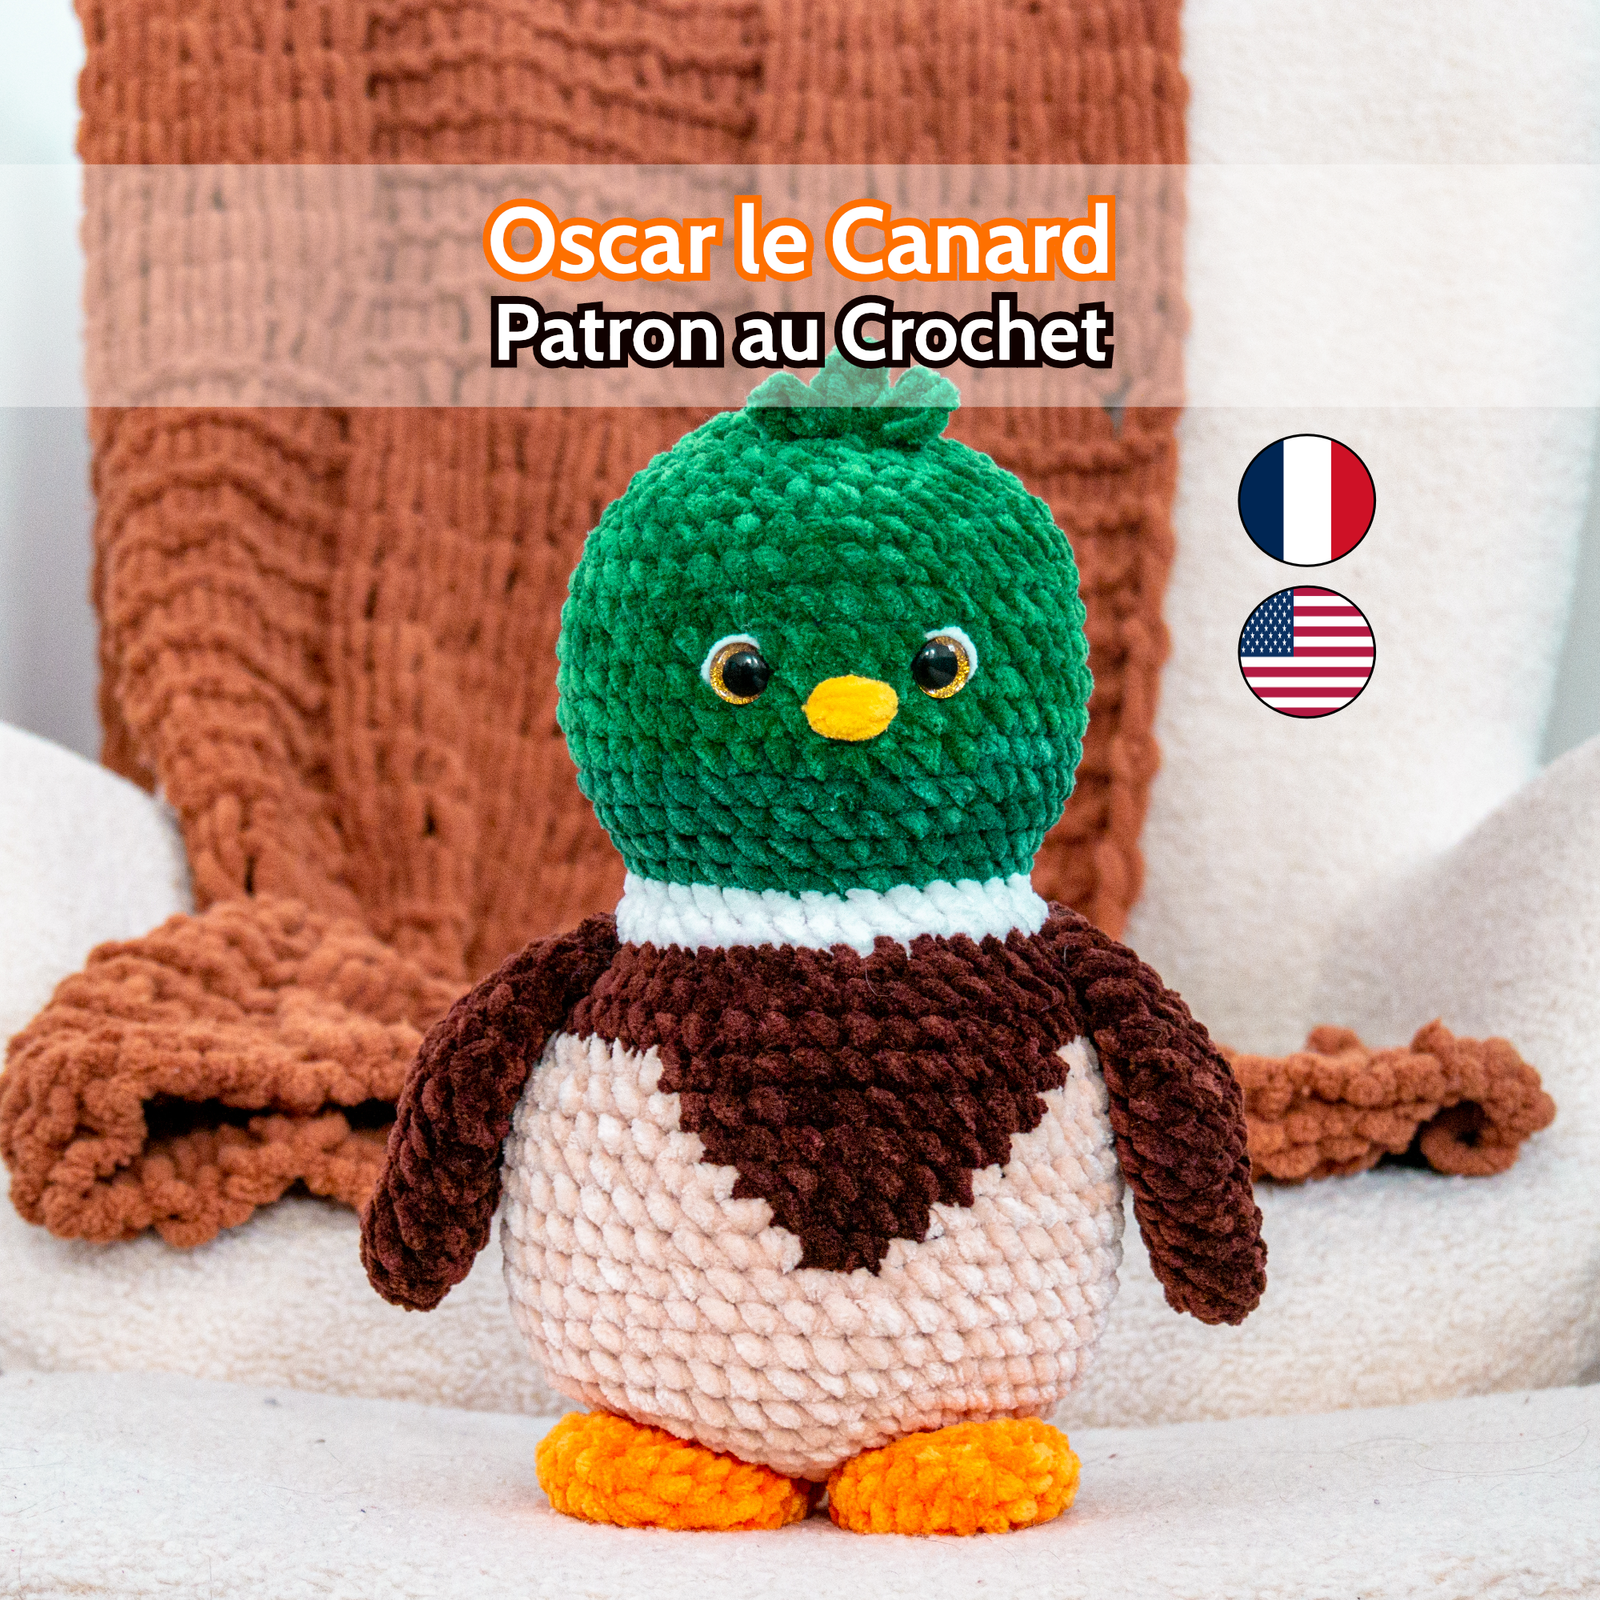
Le Canard au Crochet – Patron Peluche PDF à télécharger Français et Anglais
5,90 € -
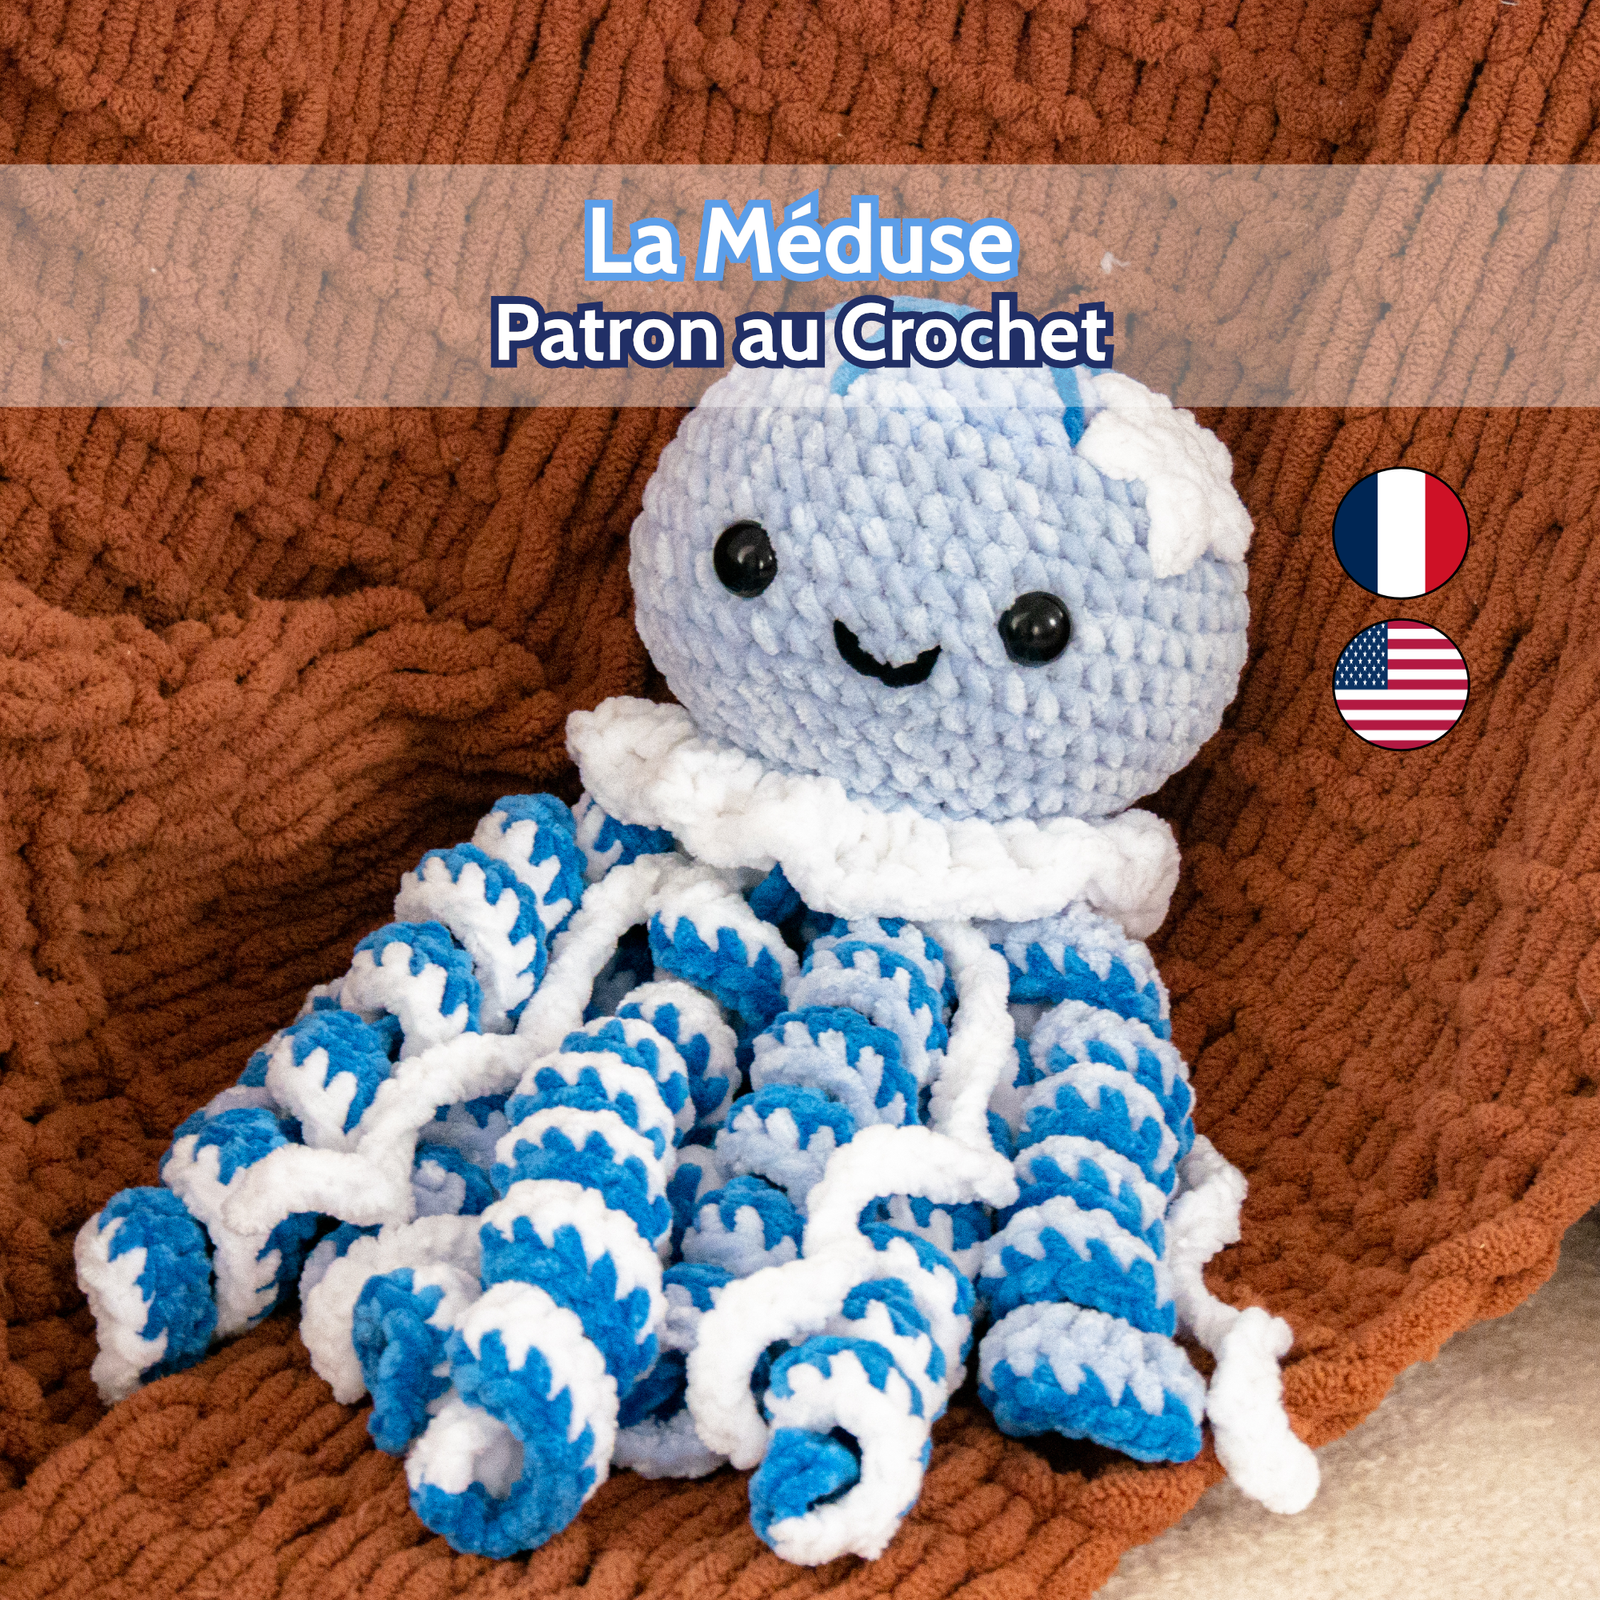
La Méduse au Crochet – Patron Peluche PDF à télécharger Français et Anglais
5,90 € -
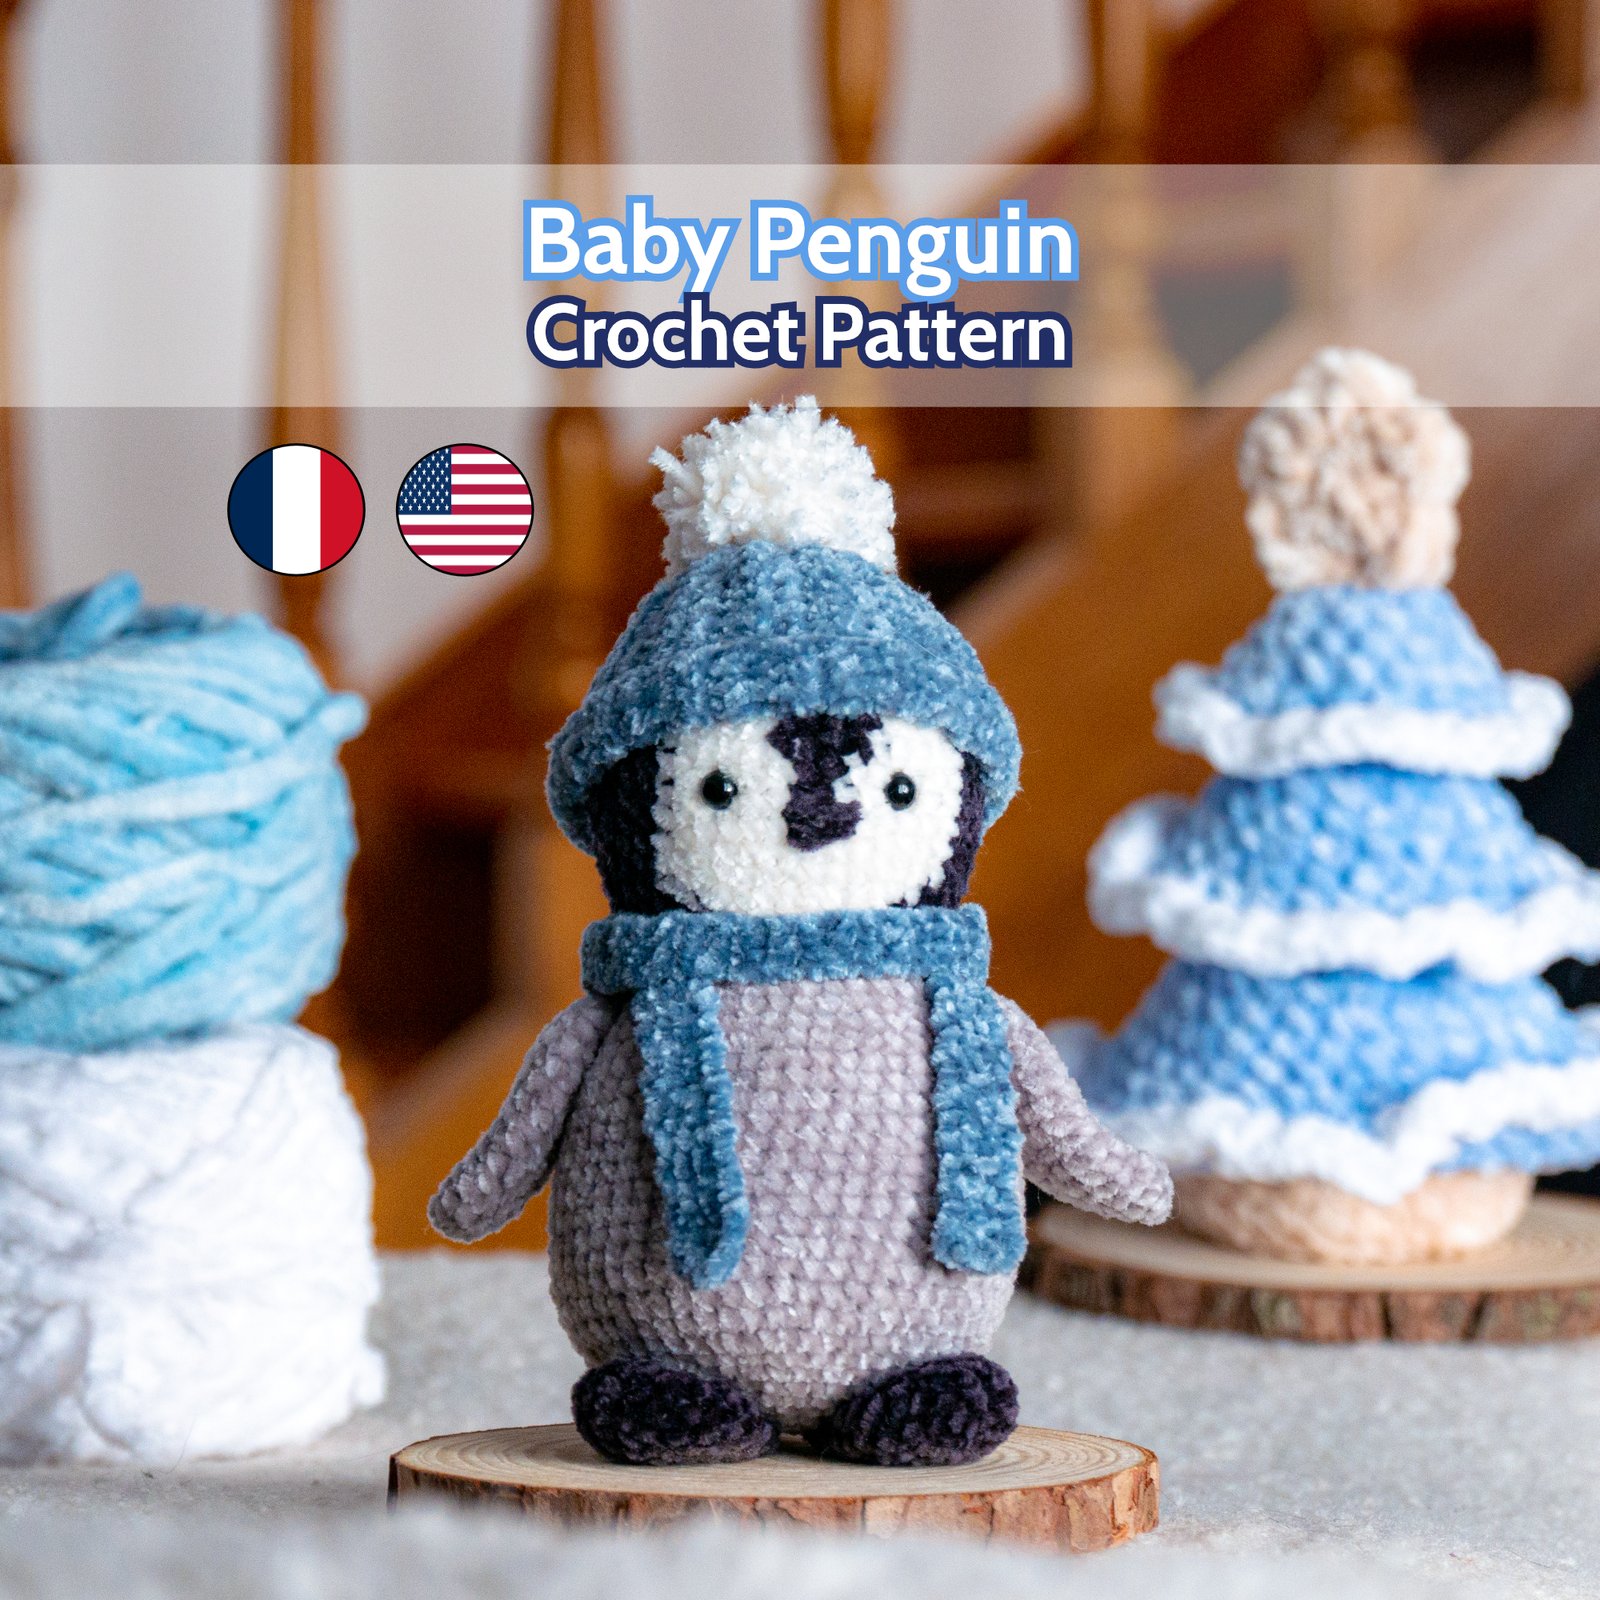
Bébé Pingouin au Crochet – Patron Peluche PDF à télécharger Français et Anglais
5,90 € -
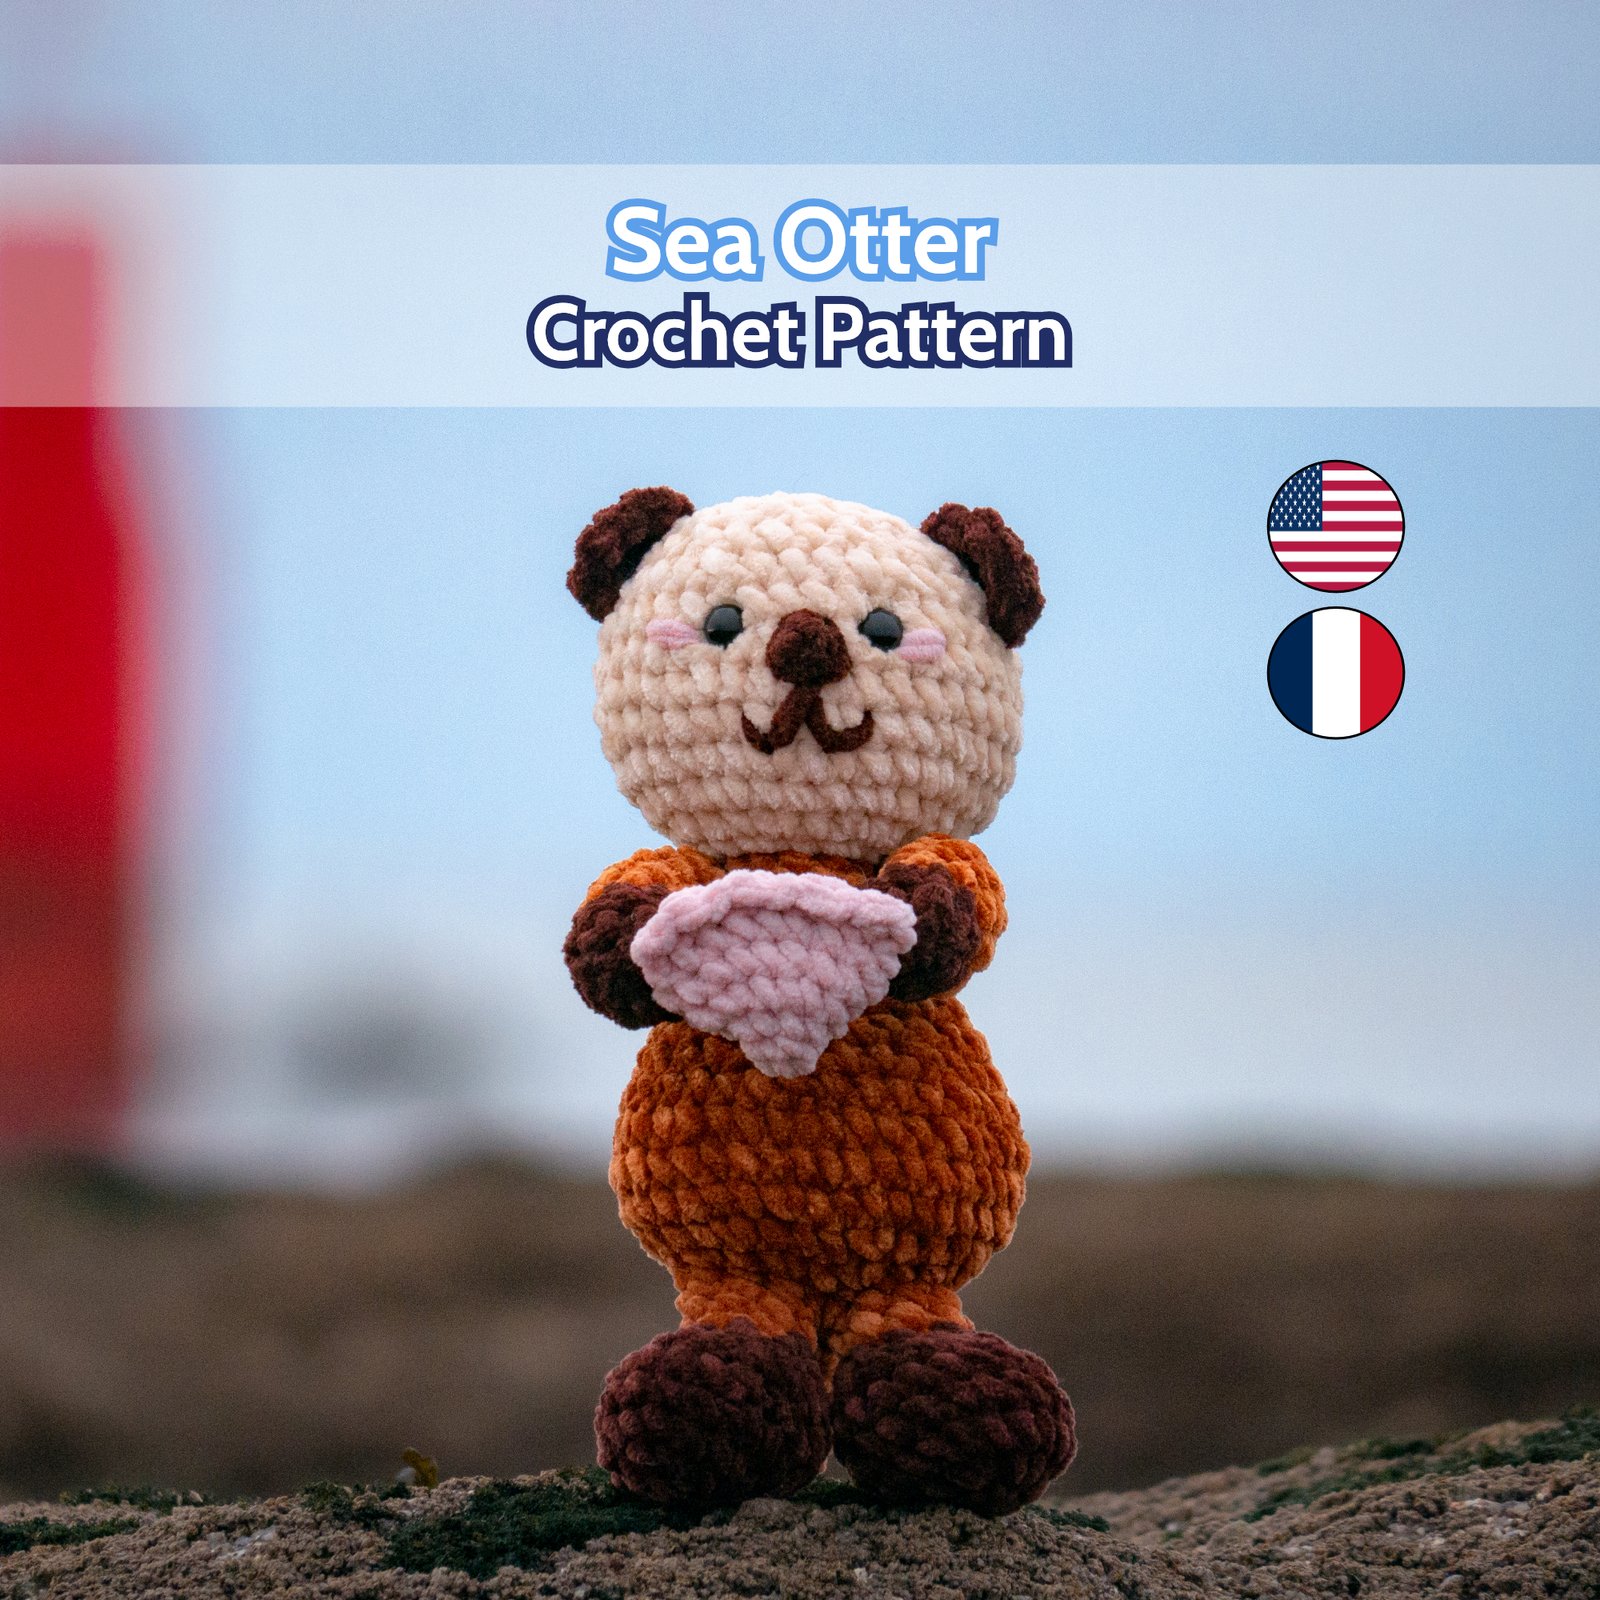
Loutre de Mer au Crochet – Patron Peluche PDF à télécharger Français et Anglais
5,90 € -
Sale!
Lot 3 Patrons de Noël au Crochet : Renne en Pain d’Épice, Bonhomme de Noël, Sapin de Noël – Patron Peluche PDF à télécharger Français et Anglais
Original price was: 17,70 €.10,00 €Current price is: 10,00 €.

Check out our other crochet tutorials:

How to make a Slip Stitch? Picture by Picture Tutorial
Learn slip stitch, a basic crochet stitch. Ideal for closing a row or a magic circle and finishing with a pretty border.
How to Make a Chain Stitch / Foundation Chain in Crochet, Step by Step Tutorial
Beginner crochet tutorial: learn how to make a chain (foundation chain, abbreviated “ch”) – an essential basic step explained step by step.

How to make a Single Crochet? Step by step tutorial
Learn how to make a single crochet, an essential basic stitch for beginners. Image by Image crochet tutorial

by Katy
Creator of Yarn & Crochet