Tutorial : How to Make a Chain Stitch / Foundation Chain in Crochet
The chain stitch – also called a foundation chain when made in sequence – is the ultimate beginner stitch in crochet. It’s usually the very first step you learn when starting out. It forms the base of your project: a simple line of stitches that you’ll use to work your first rows into. Whether you’re making a scarf, an amigurumi, a garment, or any crochet project, you’ll almost always begin with a foundation chain.
Besides being the base for your work, the chain stitch is also key for reading crochet patterns. It’s often abbreviated as ch in written instructions (for example: “ch 10” means make 10 chain stitches). It serves as the foundation for more advanced stitches, and you’ll come across it in nearly every pattern. That’s why mastering this stitch from the start is essential.
Step-by-Step Tutorial: Making the Foundation Chain
Ready to take your first steps into crochet? Follow this beginner-friendly tutorial and learn how to make a chain stitch and create your first foundation chain. Take your time and don’t hesitate to start over as needed—this basic stitch just takes a bit of practice, and once you’ve got it, you’ll be ready for all kinds of projects!
What you need: a crochet hook and a yarn of your choice (for practice, go with a medium-weight yarn that doesn’t split easily and a matching hook—4 mm is great to start with).
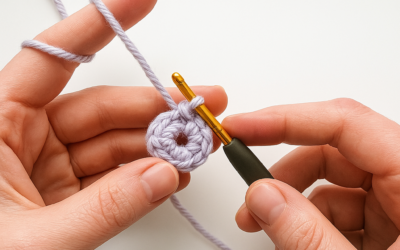
Step 1: Make a slip knot
Start by making a slip knot with your yarn and placing it onto your hook. Gently pull the working yarn (the yarn connected to the ball) to tighten the knot around your hook—just snug enough, not too tight. You now have one loop on your hook: this is the base for your chain.

Create the shape above

Pass the yarn through the loop

Then tighten to form a loop

Pass the hook through the loop and adjust
Step 2: Make your first chain stitch
Do a yarn over: wrap the yarn over your hook from back to front. Catch this yarn with your hook (the hook has a notch called the “throat” designed to grip it) and gently pull it through the loop already on your hook. You’ve just made your first chain stitch, and you now have a new loop on your hook, ready for the next stitch.

Yarn over

Pass the hook through the loop on the hook.

Adjust the tension (neither too tight nor too loose)
Step 3: Adjust the length
Repeat the same steps until you reach the number of chain stitches required for your pattern. For example, if your pattern says “ch 8,” make 8 chain stitches in a row.
Don’t count the loop still on your hook—that’s not a completed stitch. Once finished, your chain is ready to be worked into using the next stitch (commonly, you’ll insert your hook into the second chain from the hook to start your first row of single crochet, double crochet, etc., depending on the pattern).

Result of a ch 8
Astuces pour une Maille en l’Air parfaite
How do I make an even, regular-looking chain?
The key to an even chain is maintaining consistent tension. Try to keep the same tightness for each stitch—neither too loose nor too tight. Hold the chain between your fingers and let the yarn glide smoothly over your index finger to control the tension. With practice, your chain stitches will become more uniform and your foundation chain will look clean and tidy.
Why is my chain too tight or too loose?
If your chain feels too tight, you may be pulling the yarn too hard or using a hook that’s too small for your yarn. If it’s too loose, your tension may be too relaxed. Try holding the yarn a bit more firmly, or switch to a larger hook to loosen things up. A great tip: use a hook one size larger to make your foundation chain, then switch to the recommended hook size for the rest of your project. This will give you a more flexible chain and help avoid a tight edge.
What if my foundation chain is too short?
Don’t worry—this happens to everyone! The easiest fix is to undo your chain and start over with the correct number of stitches. It’s better to restart than to try patching a short chain. While it’s technically possible to add extra chains to the end later on, this can create weak spots in your work. For beginners, it’s best to rechain the full length needed.
Can I make a softer, stretchier foundation chain?
Absolutely! A looser chain is often more comfortable and flexible—especially for projects like scarves or garments. To achieve that, relax your grip slightly as you stitch, or use a hook one size bigger than the one recommended for the project. This makes your chain stitches a bit wider, giving you more elasticity in your base.
How can I tell the top from the bottom of my chain?
When you look at your foundation chain, the top side has a row of small “V” shapes—these are the loops you normally work into. The bottom side looks like a row of little bumps or “pearls.” Most patterns will have you insert your hook into the top V’s of the chain. Knowing how to recognize both sides is especially helpful when joining a chain in the round—you’ll need to keep the chain untwisted and align the top loops for a clean connection.
What are chain stitches used for beyond the starting chain?
Chain stitches (ch) aren’t just for the beginning! You’ll use them all throughout crochet patterns—as turning chains at the start of each row to give your work height, or as spacers in lacy or decorative stitch patterns. For example, you’ll often see instructions like “1 ch to turn” for single crochet rows, “2 ch” for half double crochet, or “3 ch” for double crochet (this counts as your first dc). Chains are also used in patterns like mesh, shells, and granny squares to create structure and openwork.
Now you know how to make a chain stitch in crochet and create a nice, even foundation chain. Don’t hesitate to practice this move until it feels natural—it’s one of the most-used techniques in crochet.
To put this into practice, check out our selection of beginner-friendly crochet patterns on Yarn & Crochet. These patterns all begin with a foundation chain—perfect for using your new skill in a real project!
-

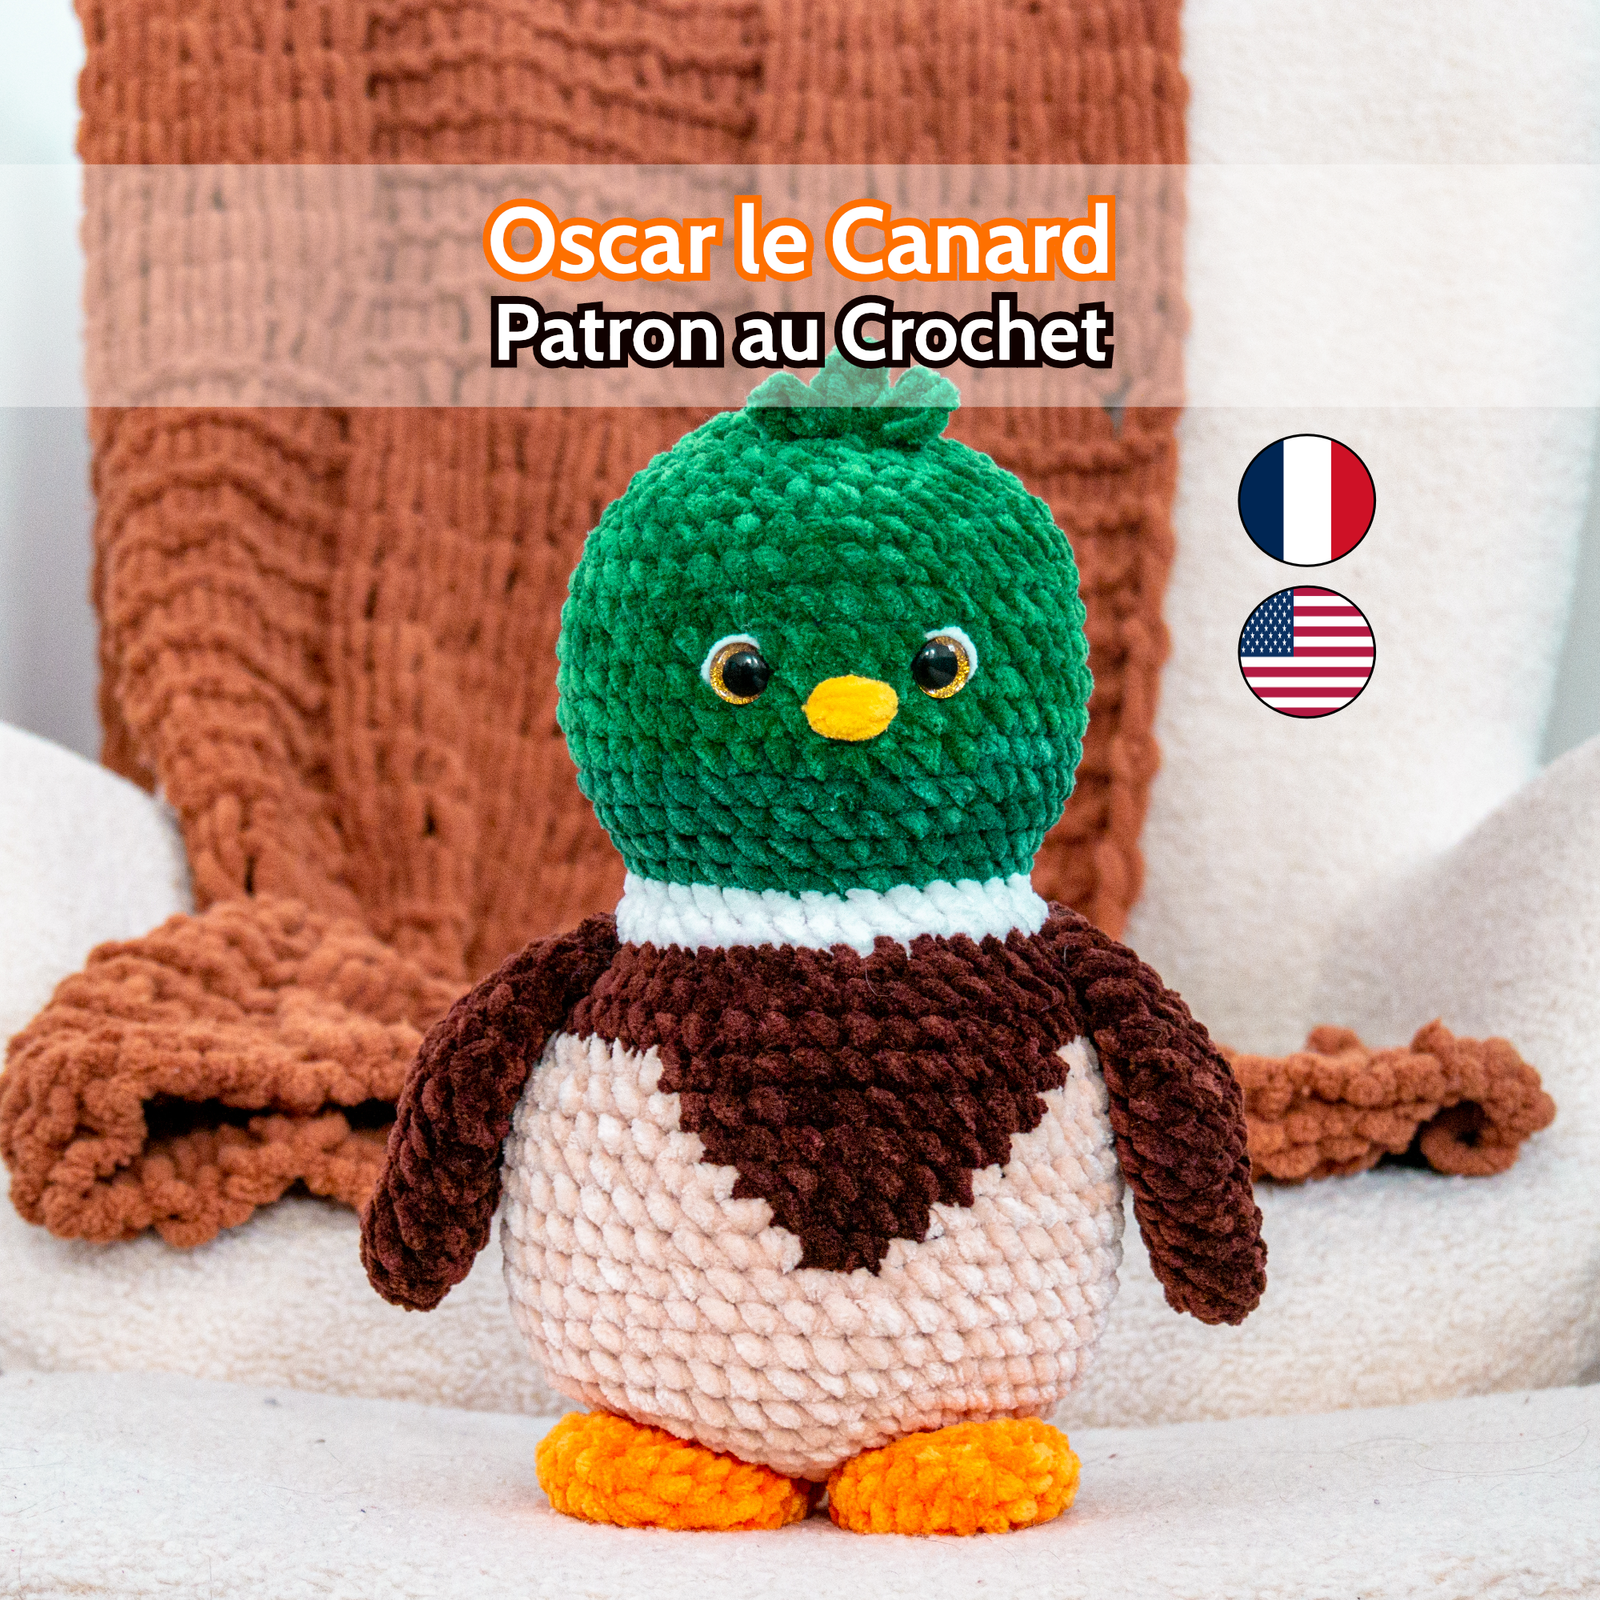
Le Canard au Crochet – Patron Peluche PDF à télécharger Français et Anglais
5,90 € -
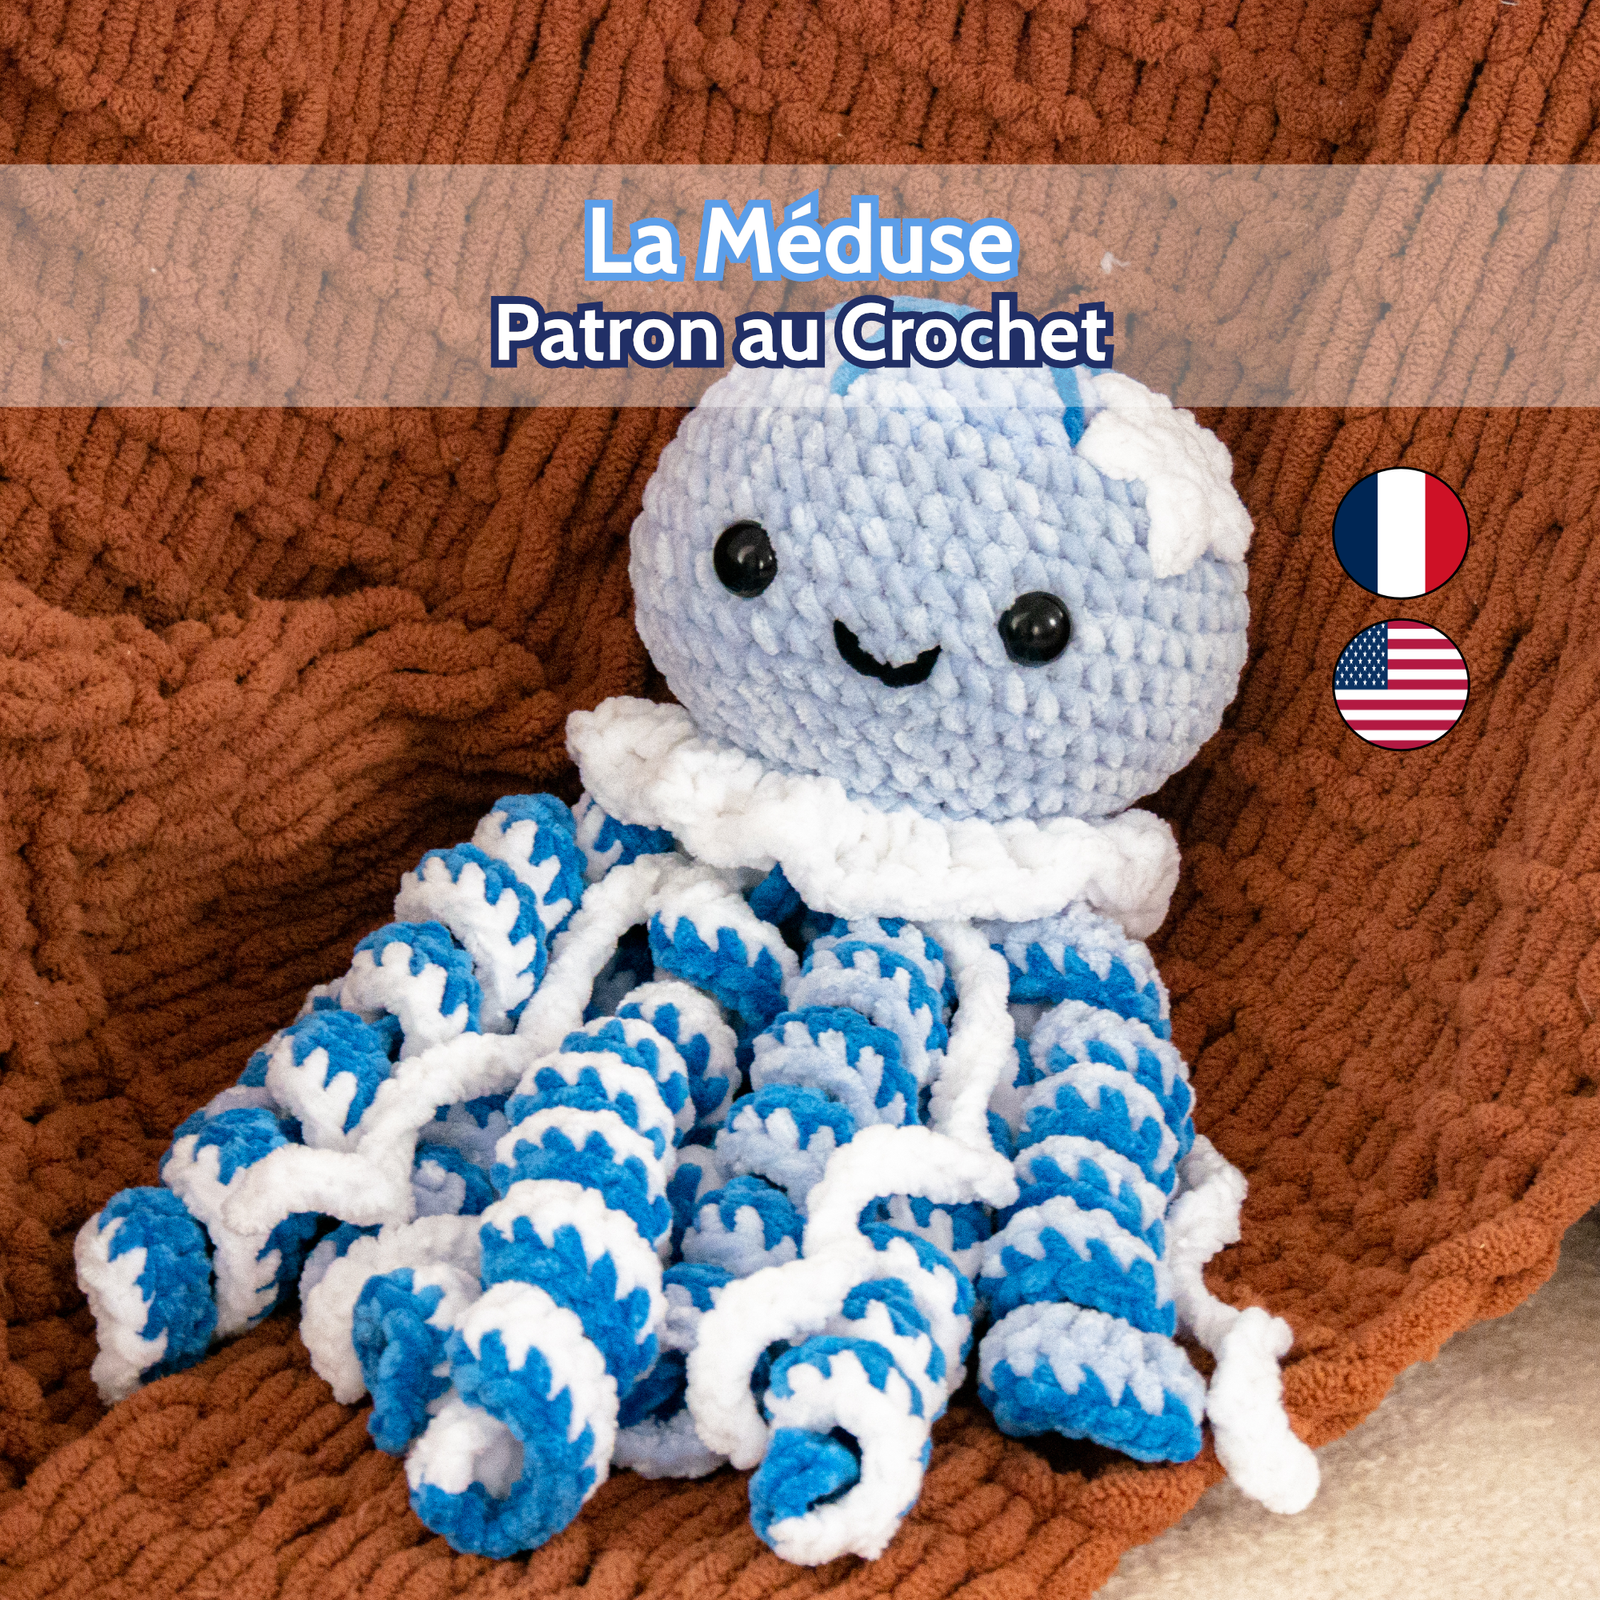
La Méduse au Crochet – Patron Peluche PDF à télécharger Français et Anglais
5,90 € -
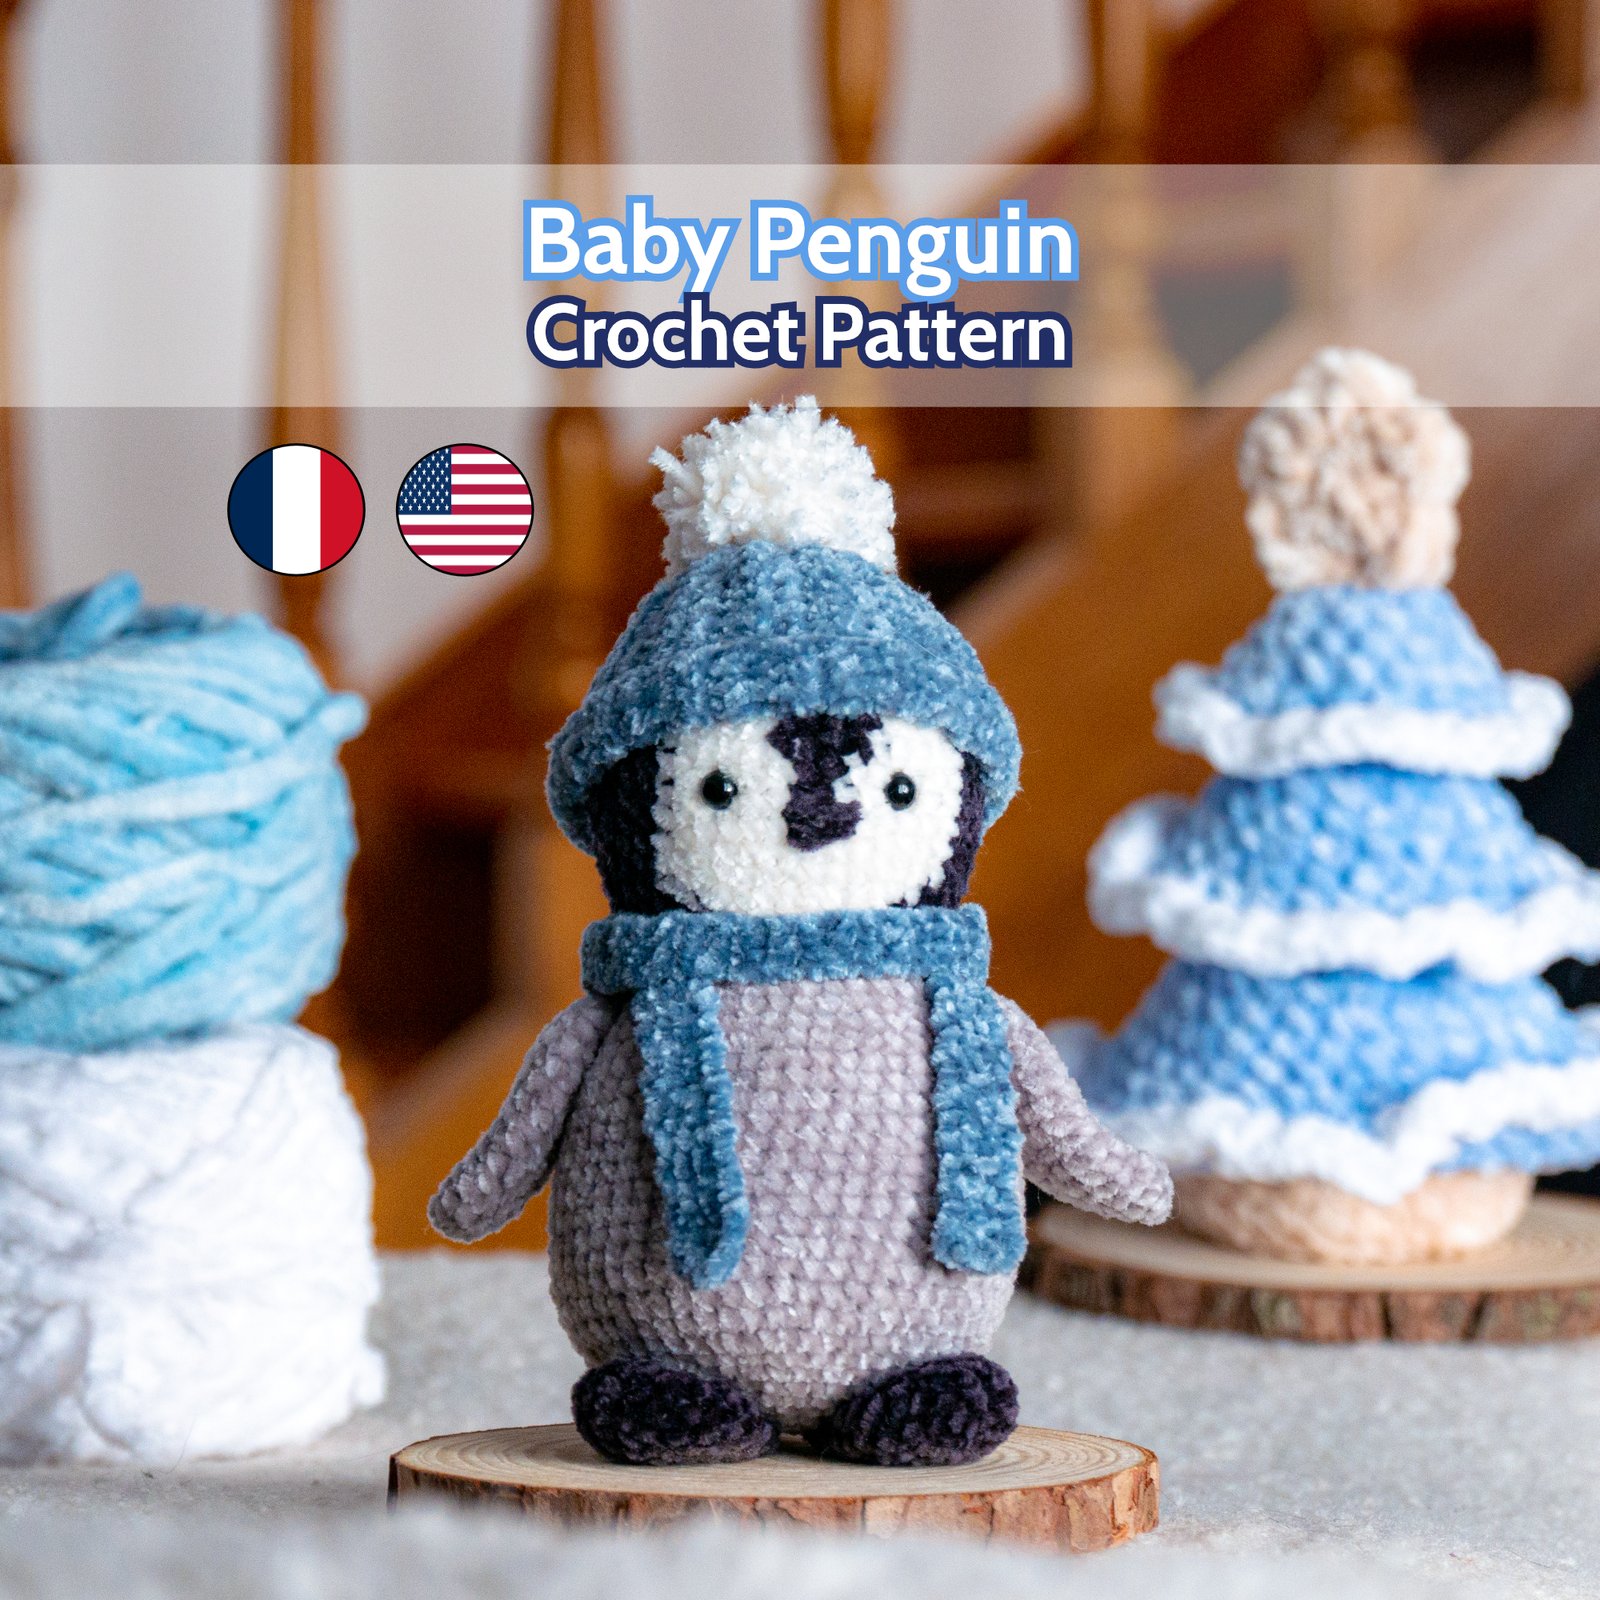
Bébé Pingouin au Crochet – Patron Peluche PDF à télécharger Français et Anglais
5,90 € -
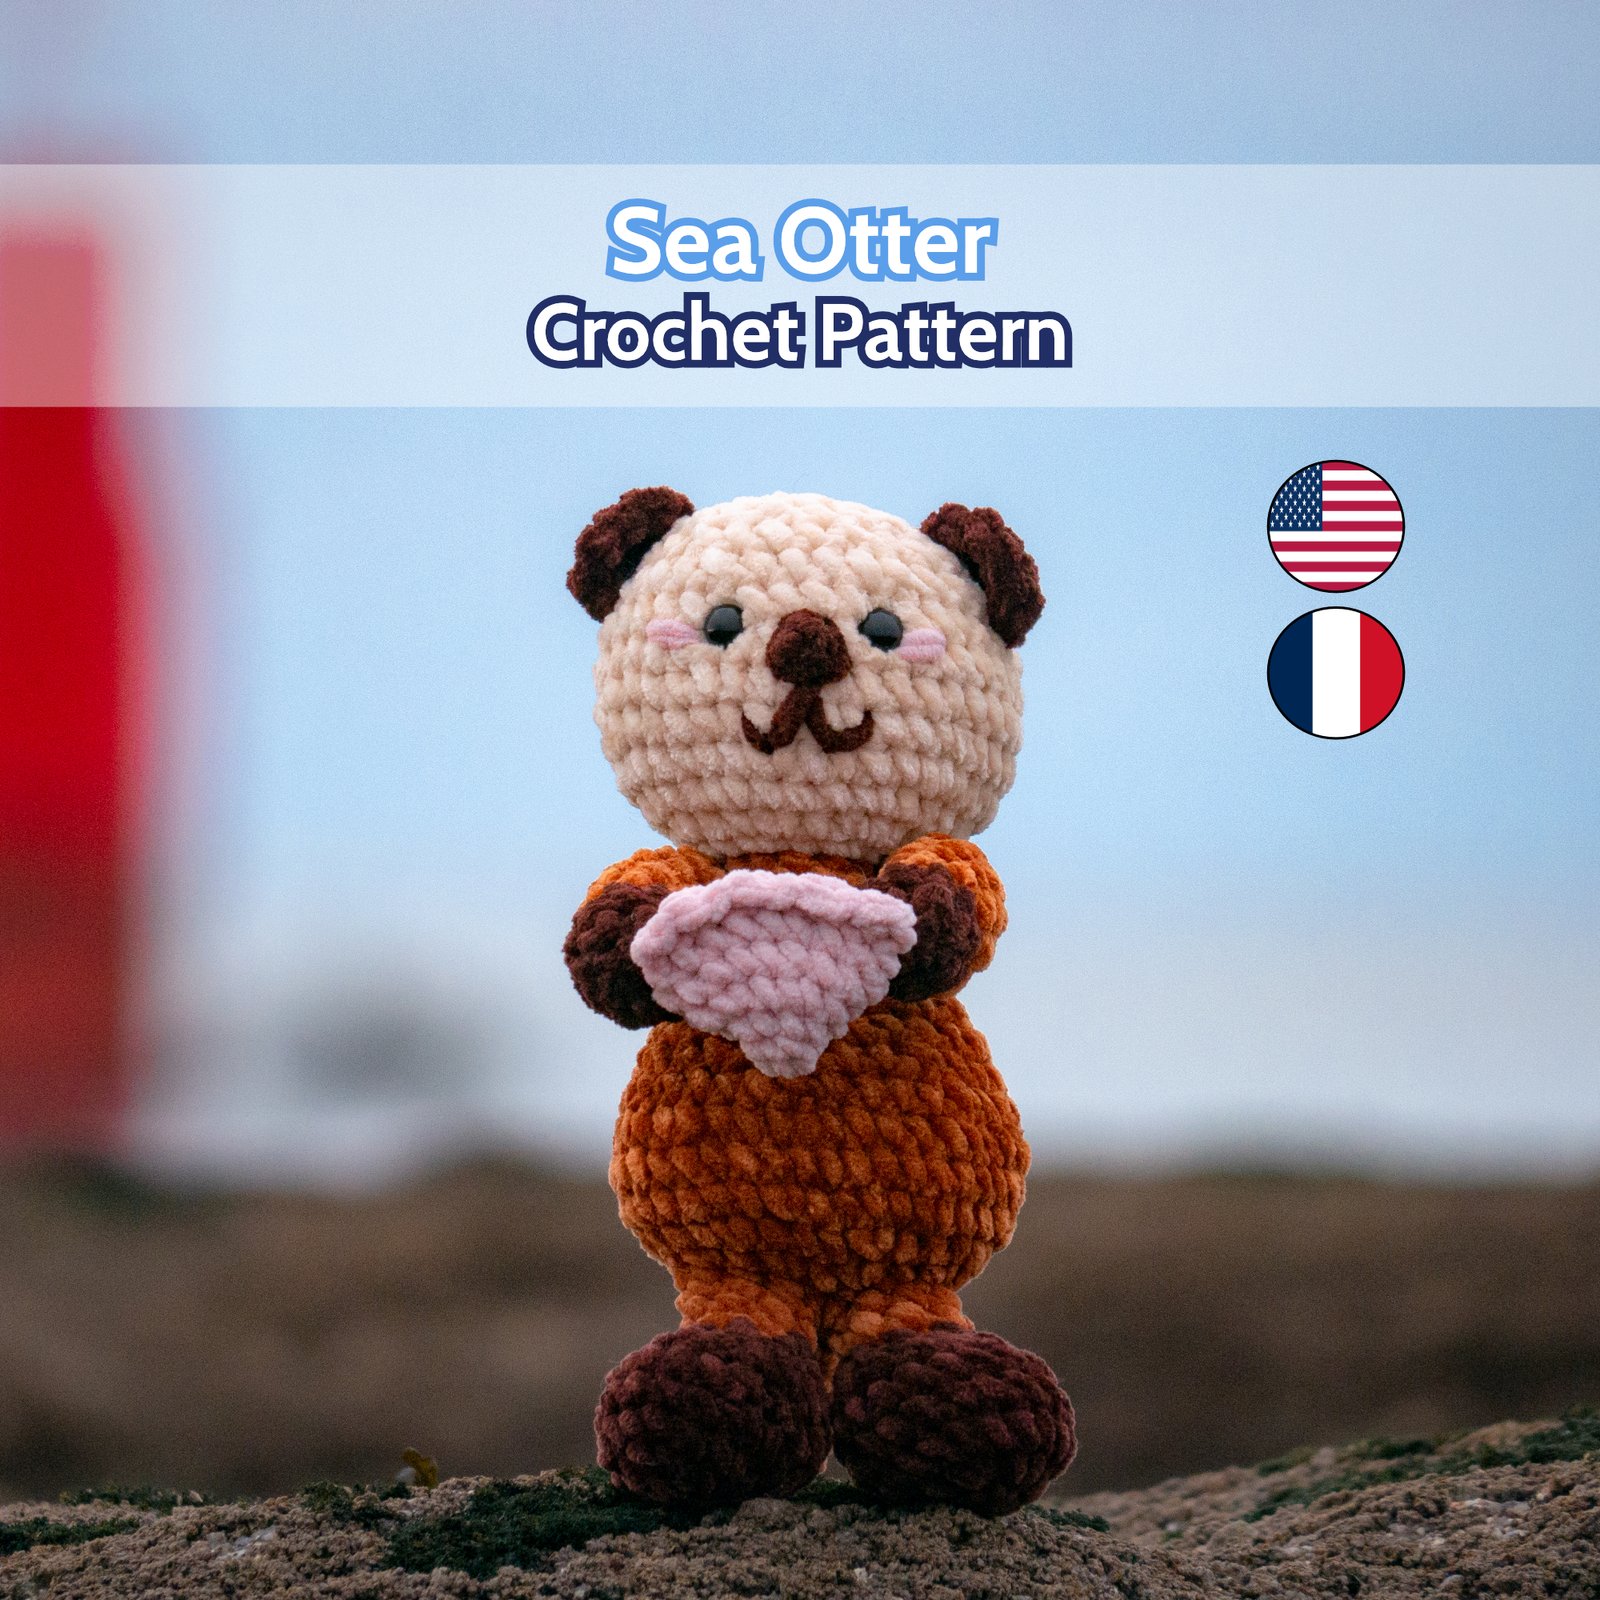
Loutre de Mer au Crochet – Patron Peluche PDF à télécharger Français et Anglais
5,90 € -
Sale!
Lot 3 Patrons de Noël au Crochet : Renne en Pain d’Épice, Bonhomme de Noël, Sapin de Noël – Patron Peluche PDF à télécharger Français et Anglais
Original price was: 17,70 €.10,00 €Current price is: 10,00 €.

Discover our other crochet tutorials:

How to make a Slip Stitch? Picture by Picture Tutorial
Learn slip stitch, a basic crochet stitch. Ideal for closing a row or a magic circle and finishing with a pretty border.

How to make a Single Crochet? Step by step tutorial
Learn how to make a single crochet, an essential basic stitch for beginners. Image by Image crochet tutorial
How to make a Magic Circle with Crochet? Step by step tutorial
Learn how to crochet a magic circle for an easy start to crocheting in the round without a center hole. Step by step tutorial.

by Katy
Creator of Yarn & Crochet